
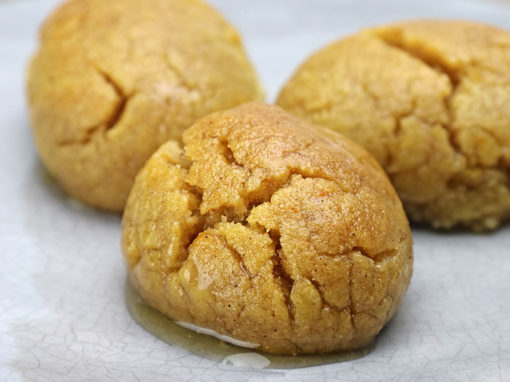
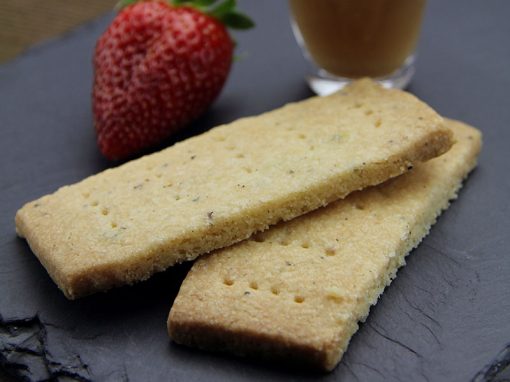
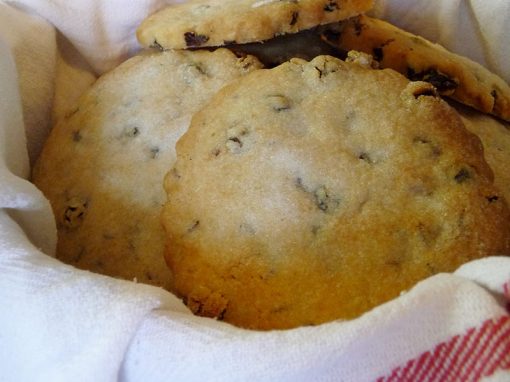
Earl Grey Butter Biscuits
Makes about 18-20 biscuits

We must stress that it is important to use a good quality Earl Grey tea. You may have noticed that cheap Earl Grey tea (especially the stuff in tea bags) contains little white flecks. These are artificial flavouring pellets which will not give a great finished result.
Good quality loose leaf tea is fragranced with real Bergamot oil which is essential for a good biscuit and a cuppa of course.
These little biscuits are a fitting partner to be enjoyed with afternoon tea or coffee or as part of a dessert with ice cream and a fruit compote.
They have good keeping qualities and will remain crispy when stored in an airtight container. We dare you to see just how long they last, that’s if you don’t succumb to their irresistible butteriness too soon!
Ingredients
- 1½ tbsp Earl Grey tea
- 9oz / 255g plain flour
- 3oz / 85g caster sugar
- ½ tsp vanilla extract
- 6oz / 170g unsalted butter, softened
- granulated sugar for sprinkling
Method
Lightly oil a couple of baking sheets or cover them with baking parchment.
Grind the tea leaves finely (but not to a powder) using a pestle and mortar.
In a bowl, mix the flour, sugar and Earl Grey tea together.
Add the butter and vanilla extract and rub in working well with your hands. It helps if you have warm hands, as this will make the dough come together well. You can also do this in an electric mixer using the paddle. Don’t worry about overworking the mixture as this is key in getting the consistency right. When the dough is smooth and no cracks appear then you’re ready to start making the biscuit shapes.
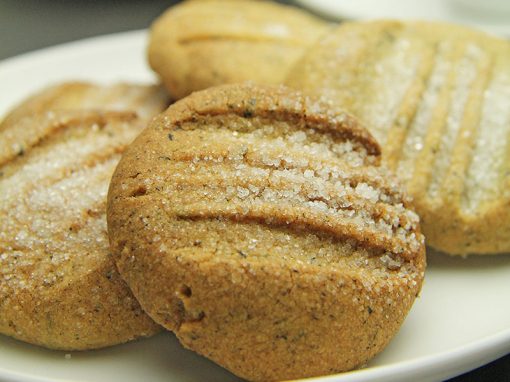
Take a small amount of dough and roll it in the palms of your hands until it forms a ball about 3cm in diameter and place them on the baking tray about 7cm apart.
Next using the back of a fork press down on the balls so they flatten out.
Sprinkle with granulated sugar.
Place in the oven and bake until light golden brown for about 20-30 minutes.
When they’re baked take out of the oven and allow to cool slightly before carefully removing them with a palette knife and placing on a wire rack to cool.
Store in airtight container.
Foods in Season
See which foods are in season and at their best using our guide >>>
Try these recipes…


Sign up to receive our newsletter
For the latest producer info, shows, markets, recipes, competitions and more. Please be assured that we don't sell or pass on your information to third parties.
Keep up to date with:
- New and approved producers and produce
- Offers, discounts, competitions and more
- Seasonal produce and great tasting downloadable recipe ideas
- Shows, events and markets